This guide provides instructions to set up and configure Endor Labs to get started with your first project scan. See Endor Labs user interface for more information on the user interface and various elements available in the interface.
Log in to Endor Labs
-
Visit https://app.endorlabs.com to access the login page.
-
You can sign in to Endor Labs with the following options:
- Google Workspace
- GitHub
- GitLab
- Email Link
- Supported enterprise SSO providers
-
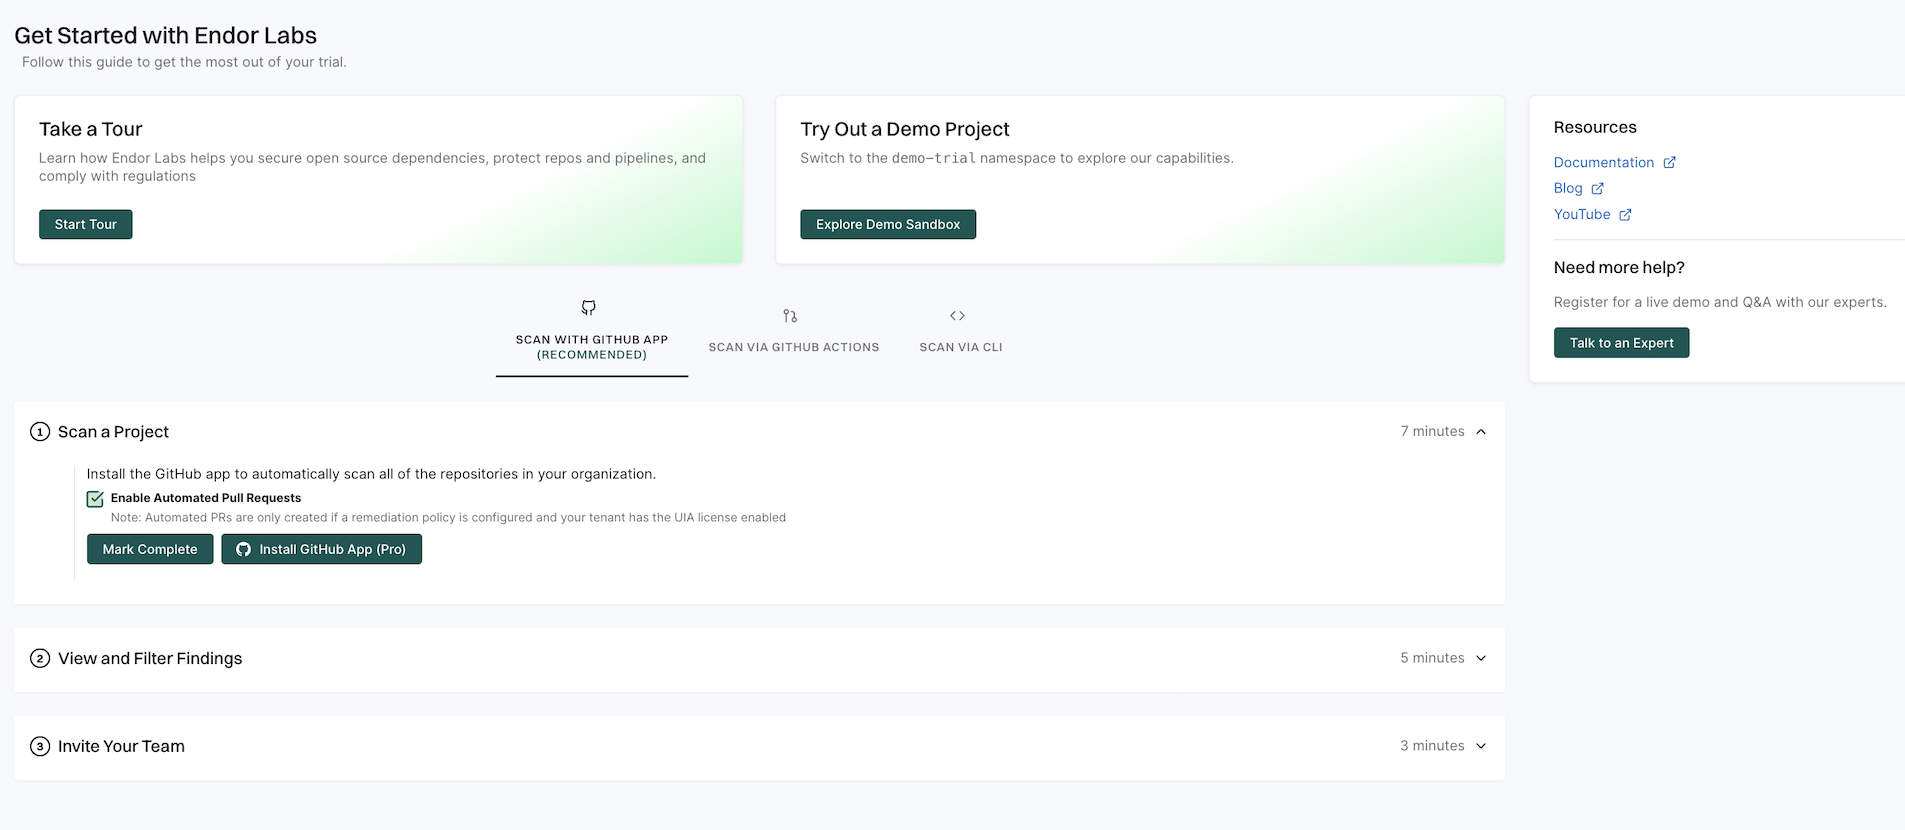
Select Get Started on the left sidebar to explore the available options.
- Select Start Tour to take a guided tour of the application and understand its main features.
- Select Explore Demo Sandbox to view Endor Labs capabilities and explore its features in a read-only tenant.
- Select SCAN WITH GitHub App to install the Endor Labs GitHub App.
- Select SCAN VIA GitHub Actions to scan a demo repository from GitHub and view findings.
- Select SCAN VIA CLI to set up your tenant and start scanning your repositories with the CLI.
Quick start with GitHub App
Endor Labs provides a GitHub App that continuously monitors users’ projects for security and operational risk. You can use the GitHub App to selectively scan your repositories for SCA, secrets, RSPM, or GitHub Actions. GitHub App scans also establish baselines that are subsequently used during CI scans.
The GitHub App (Pro) facilitates PR remediation. See PR remediation for more information.
Prerequisites for GitHub App
Before installing and scanning projects with Endor Labs GitHub App, make sure you have:
- A GitHub cloud account and organization. If you don’t have one, create one at GitHub.
- Administrative permissions to your GitHub organization. Installing the Endor Labs GitHub App in your organization requires approval or permissions from your GitHub organizational administrator.
- Endor Labs GitHub App requires read permissions to Dependabot alerts, actions, administration, checks, code, commit statuses, issues, metadata, packages, pull requests, repository hooks, and security events. It does not need write access to any resources.
Set up the GitHub App with Endor Labs
To set up Endor Labs GitHub App:
-
Sign in to Endor Labs and select Get Started from the left sidebar.
-
Select SCAN WITH GitHub App and click Install GitHub App Pro.
Deselect Enable Automated Pull Requests to disable automatic PR remediation and to install the GitHub App.
-
See Deploy Endor Labs GitHub App (Pro) for detailed installation steps and configuration options.
-
After installation, Endor Labs scans your repositories to generate findings and re-scans your repository every 24 hours. See Findings for more information on the findings generated by the scans.
-
See Review the results of your project for details on findings and analysis.
Quick start with endorctl
Use endorctl to perform comprehensive security analysis across your codebase, including software composition analysis, dependency management, secret detection, and evaluation of GitHub configuration against best practices, and send results to your Endor Labs tenant.
Set up endorctl with Endor Labs
To set up endorctl:
- Sign in to Endor Labs and select Get Started from the left sidebar.
- Select SCAN VIA CLI to configure your tenant and start scanning with the CLI.
See Install and configure endorctl and Scan using endorctl for more information on setup and running scans.
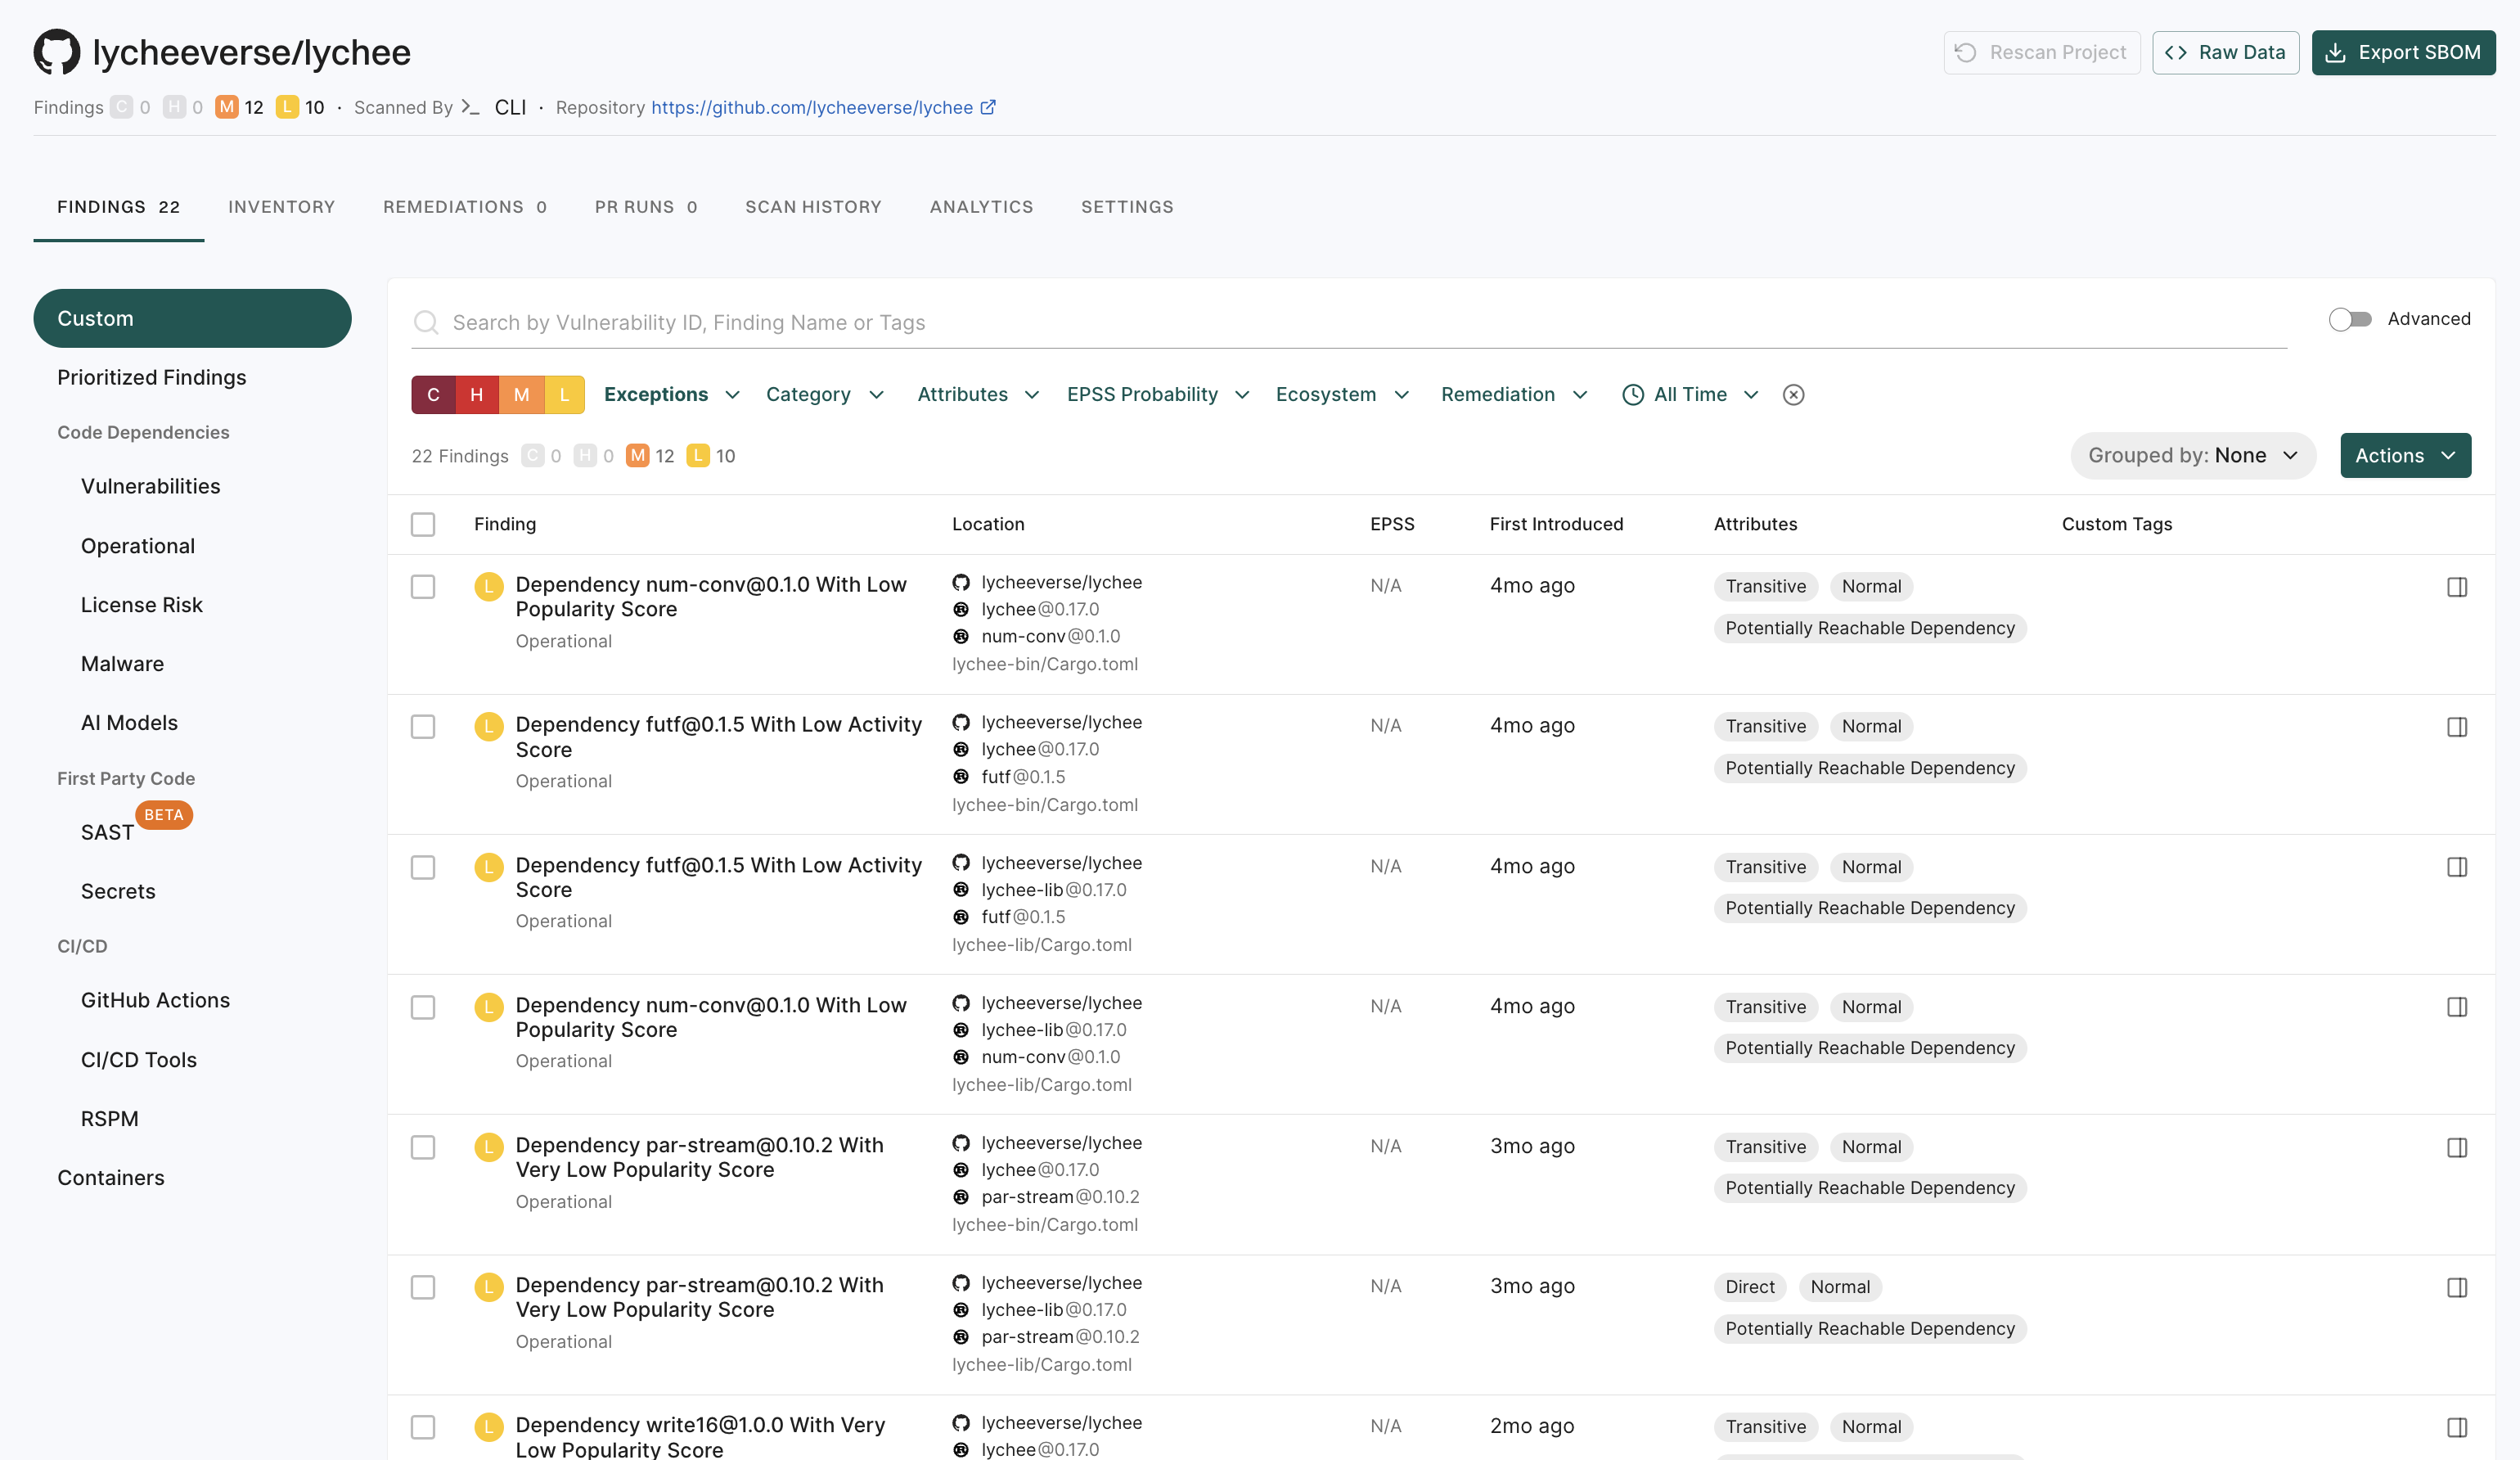
Review the results of your project
To inspect your project results and understand scan outcomes:
-
Select Projects from the left sidebar.
-
Select your project to open its overview.
-
In the Findings section, review the severity summary for that project:
- C: Critical
- H: High
- M: Medium
- L: Low
-
Under Packages, select the icon next to the count to view the following information:
- Project metadata: Includes the project UUID, repository details, dependencies, and repository versions.
- Findings breakdown: Shows how issues are distributed across dependencies, packages, repositories, secrets, and CI workflows.
-
Select View details to explore findings and review detailed analysis across dependencies, code, and secrets. See Findings for more information.